
So, you want to make a video of a website scrolling. The basic idea is to capture the screen as you programmatically scroll down the page, and then stitch those captured frames into a video. You can pull this off a few different ways: right in the browser with some JavaScript, on a server using a headless browser like Puppeteer, or by plugging into a dedicated screenshot and video API.
Which path you take really boils down to what you need. Are you building a quick, one-off tool for your browser, or do you need a heavy-duty, automated system that can scale?
Why Bother with Scrolling Website Videos?
Before we jump into the technical side, let's talk about why a scrolling video often beats a static, full-page screenshot. A flat image is fine, but it’s a snapshot in time. It completely misses the animations, the interactive elements, and the general flow of a user's experience. A video, on the other hand, tells the whole story.
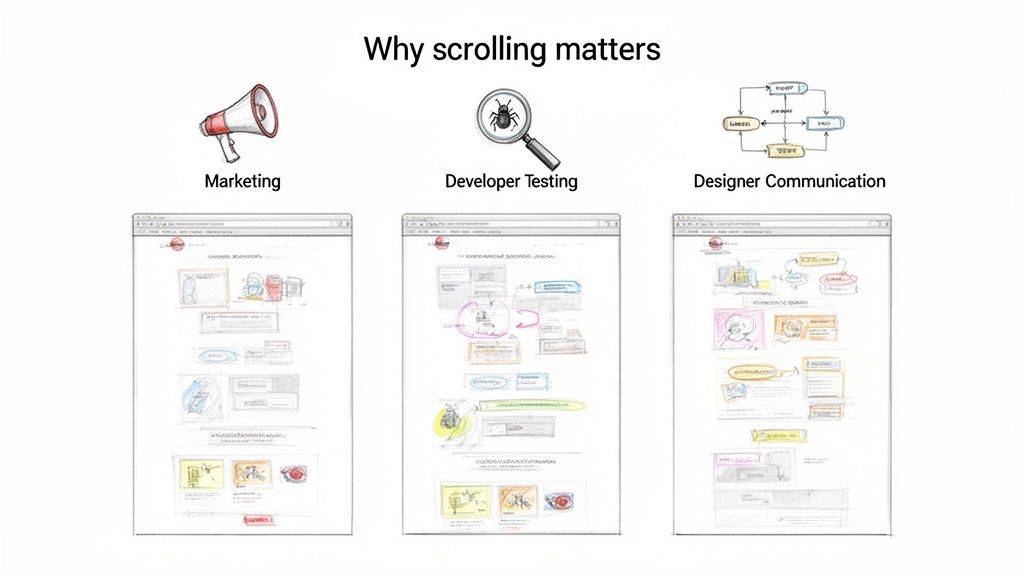
This dynamic context is surprisingly valuable for a bunch of different teams. What starts as a simple visual asset quickly becomes a powerful tool for everything from debugging to marketing.
More Than Just a Pretty Picture
For developers and QA teams, scrolling videos are a godsend for visual regression testing. A static screenshot might show you that a button looks right, but it will never reveal a janky parallax effect or a lazy-loading animation that glitches out halfway down the page. By recording the entire scroll, you catch UI bugs that are otherwise invisible.
Marketing and sales teams get a huge boost from this, too. Instead of a boring, flat image in a social media ad, they can feature an eye-catching video that shows a product in action. Think about it:
- Product Demos: Imagine showing off a SaaS dashboard by smoothly scrolling through its features. It’s way more convincing than a slideshow of static pictures.
- Social Media Content: A short, looping video of a slick website design is perfect for grabbing attention on platforms like Instagram or LinkedIn.
- Onboarding Materials: You can guide new users through your app with a clear video that shows exactly where to click and what to expect.
By capturing the fluidity and responsiveness of a web page, you provide stakeholders with an authentic preview of the end-user experience, bridging the gap between design mockups and live interaction.
When you make a video of a website scrolling, you're not just recording pixels; you're creating a more honest and compelling story about your digital product. It shows how animations bring a page to life, how elements interact, and how a user actually experiences the site from top to bottom.
Method 1: In-Browser Recording with the MediaRecorder API
If you're looking for a lightweight, purely client-side way to make a video of a website scrolling, the MediaRecorder API is your ticket. It runs entirely in the user's browser, which means no server-side dependencies. This makes it a fantastic choice for tools like user feedback widgets or session recorders where everything needs to happen on the user's machine.
The whole process kicks off by asking the user for permission to see their screen. You'll use getDisplayMedia, which triggers a native browser prompt asking them to share a specific tab, window, or their entire screen. Once they say yes, you get a video stream that you can pipe directly into a new MediaRecorder instance to start capturing.
Kicking Off the Capture and Scroll
With the recorder set up and ready to go, the next step is to actually make the page scroll. A simple and effective way to do this is with window.scrollTo wrapped inside a setInterval function. This gives you fine-grained control over the scroll speed, letting you create a smooth, continuous motion instead of a jarring jump to the bottom of the page.
Here’s a quick look at the core of the API, straight from the MDN docs.
As you can see, the main controls are pretty straightforward: you create a new MediaRecorder(), and then use methods like start() and stop() to manage the recording.
The real trick is handling the video data as it comes in. The MediaRecorder fires off dataavailable events periodically while it's recording. Your job is to listen for these events, push the little "chunks" of video data into an array, and get ready to piece them together once the recording is finished.
One thing you can't get around is the user permission prompt. Browsers treat screen access as a major security concern, so they require explicit user consent every single time. Your UI needs to be crystal clear about why you're asking for this permission.
Putting It All Together and Downloading the Video
After your programmed scroll hits the end, you just call recorder.stop(). This triggers one last dataavailable event, followed by a final stop event. In the handler for that stop event, you can finally take all those data chunks you've been collecting and combine them into a single Blob.
This Blob is your video file, usually in WebM format. To make it downloadable, you create an object URL with URL.createObjectURL(blob) and assign it to the href of an anchor (<a>) tag. A quick programmatic click on that link, and the browser's download prompt appears, letting the user save the video right to their computer.
It’s no secret that the demand for accessible video creation tools is exploding. We're seeing a huge push for more efficient production methods. In fact, AI adoption in video production shot up to 63% among marketers last year, a significant jump from 51% the year before. While the MediaRecorder API isn't AI, it definitely fits into this trend of empowering users to create video content easily and in-house. You can dive deeper into these trends in Wyzowl's 2024 report.
A couple of common headaches with this method? You might run into inconsistent frame rates, especially on less powerful computers, which can make the scroll look choppy. Getting the interval timing and scroll distance just right is key to making the final video look polished and professional, not robotic.
Automating Server-Side Capture with Puppeteer
When you need to create a perfectly smooth, high-quality scrolling video of a website, especially at scale, a client-side approach just won’t do. That’s when you bring in the heavy hitters. For professional, automated workflows, we turn to server-side tools, and Puppeteer is the gold standard here.
Puppeteer is a Node.js library that gives you a high-level API to control a headless Chrome or Chromium browser. This means you can write scripts to tell the browser exactly what to do from your backend. It's the perfect tool for generating slick marketing videos, running visual regression tests in a CI/CD pipeline, or creating automated product demos.
The whole process is different from a simple screen recording. Instead of capturing your live screen, you systematically take individual frames (screenshots) as you scroll down the page. Then, you stitch them all together. The result? A pixel-perfect video with a buttery-smooth frame rate that’s simply impossible to achieve by hand.
Getting Your Puppeteer Environment Ready
If you’re comfortable with Node.js, setting up Puppeteer is pretty straightforward. Once you’ve kicked off a new project (npm init -y), you just need to install a couple of things.
- Puppeteer: This is the main library for browser automation. Just run
npm install puppeteer. It even downloads a compatible version of Chromium for you, so you don't have to worry about browser management. - FFmpeg: This is the command-line powerhouse for all things video encoding. You'll need to install it separately on your machine or server.
A basic script will launch the browser, open a new page, set the viewport size to your desired resolution, navigate to a URL, and then get to work scrolling and snapping screenshots.
Here’s a simple high-level look at how the browser recording process works.
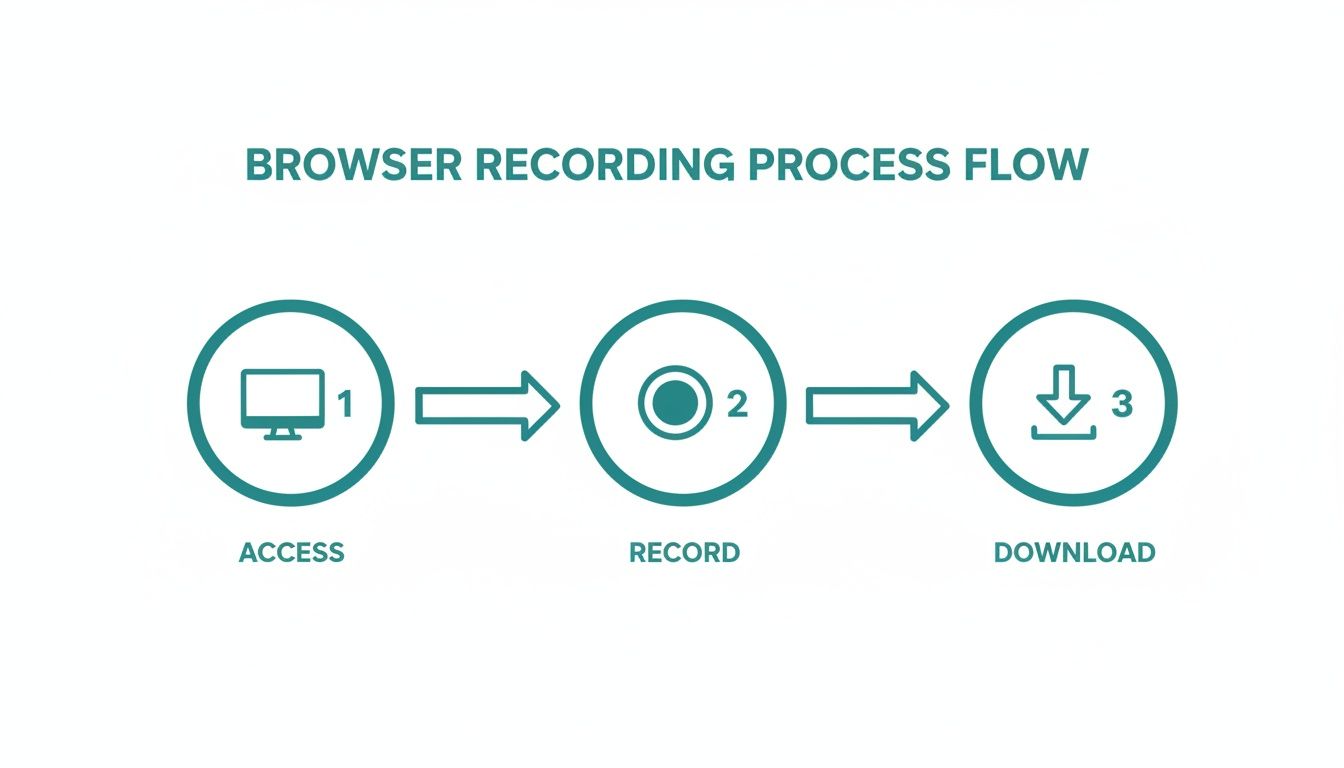
This flow breaks it down to the fundamentals: accessing the site, capturing the content frame by frame, and finally, processing it all into a downloadable video.
Nailing the Scroll and Capture Logic
The real magic is in how you sync up the scrolling and screenshotting. Think about it: for a smooth 60 FPS video, you need to capture 60 screenshots for every single second of video. The trick is to calculate the exact pixel distance to scroll between each frame to make the final motion look completely fluid, not jumpy.
This is all about careful timing. You'll write a loop that iterates through the page's total scrollable height, moving the viewport down by a small, consistent amount and taking a screenshot at each stop. These images get saved to a temporary folder, all numbered and ready for the next step.
This is where Puppeteer really shines. You have absolute control. You can set the browser window's resolution to a perfect 1920x1080, emulate different devices, and even tell the script to wait for certain elements to load before it starts capturing. This ensures your output is consistent every single time.
Once you have a directory filled with a sequence of PNG or JPEG frames, you just pipe them into FFmpeg. A single command can take that image sequence and encode it into a professional MP4 video. You can specify the frame rate, codec, and bitrate to get the perfect balance between file size and visual quality.
While Puppeteer is a fantastic tool, it's always smart to know your options. We've put together a detailed guide comparing Playwright vs Puppeteer to help you decide which one best fits your project.
The need for this kind of programmatic video is exploding, especially in marketing. In fact, 89% of businesses now use video as a key marketing tool. And for 95% of marketers, it’s a non-negotiable part of their strategy, proving that automated video isn't just a gimmick—it's a core business function.
Stepping back, this server-side approach is a perfect example of how to automate content creation to boost efficiency. It turns a tedious manual task into a scalable, automated process that delivers a far superior result.
Effortless Video Creation with an API
While rolling your own server-side solution with Puppeteer gives you total control, it also leaves you holding the bag for server management and maintenance. What if you want all the power of a headless browser without any of the infrastructure headaches?
For many developers, a dedicated API is the most direct path to make a video of a website scrolling. This approach smartly offloads all the fussy, time-consuming parts—like blocking cookie banners, dealing with ads, and managing browser instances—to a service built specifically for the job.
The strategy itself is quite elegant. Instead of trying to capture a clunky video stream, you simply call an API to grab a series of high-resolution, overlapping screenshots of a webpage. Once you have the images, a quick run through FFmpeg stitches them into a perfectly smooth video.
Why an API-First Approach Wins
Working with an API like ScreenshotEngine fundamentally changes your workflow for the better. You’re no longer on the hook for updating browser versions, patching security holes, or spinning up more servers to handle a spike in demand. Your script just needs to make a few HTTP requests and then assemble the images.
This method comes with some serious perks:
- Zero Maintenance: The API provider takes care of all the backend infrastructure, so you don't have to.
- Clean Captures: Good screenshot APIs are designed to automatically block common annoyances like cookie pop-ups and ads, giving you a clean shot every time.
- Speed and Reliability: These services are fine-tuned for one thing: capturing web pages quickly and dependably.
Here’s a look at the ScreenshotEngine API documentation, which shows just how straightforward their endpoint is.
As you can see, a handful of simple parameters can drive complex capture settings, like full-page screenshots and specific output formats.
Stitching API Captures into a Video
The logic is pretty simple: you make sequential API calls, but with a different vertical offset for each one to capture a new "slice" of the page. You might grab the first 1080 pixels, then another shot starting at 1000 pixels. This creates an 80-pixel overlap, which is key to ensuring a seamless blend in the final video.
After your script downloads the image series (e.g., frame-001.png, frame-002.png, etc.), a single FFmpeg command is all you need to combine them. This command tells FFmpeg the input frame rate and output codec, and it handles the rest, assembling the images into your final MP4.
The result? A high-fidelity video produced with minimal code and zero server management. When you start thinking about API-driven solutions, it's worth exploring the broader context of the benefits of using an API for video repurposing, as it can streamline more than just this one task.
This API-driven, image-stitching technique really shines when you need to create videos of extremely long pages or complex, data-heavy dashboards. In those cases, traditional screen recording often stutters or fails completely.
By handing off the capture process, you can get back to focusing on your application's core features. For developers who need to integrate website captures into a product, this is often the most practical and scalable solution. You can dive deeper into how a powerful screenshot API works and the features it can offer in our detailed guide.
Comparing Methods to Create Website Videos
This table breaks down the three main approaches for creating a scrolling website video, helping you choose the best fit for your project.
| Feature | JS MediaRecorder (Client-Side) | Puppeteer + FFmpeg (Server-Side) | API-Based (ScreenshotEngine) |
|---|---|---|---|
| Complexity | Low to Medium | High | Low |
| Infrastructure | None (runs in user's browser) | Self-hosted server required | None (handled by API provider) |
| Scalability | Low (depends on client device) | High (requires server scaling) | High (managed by API) |
| Control | Limited to browser capabilities | Full control over environment | High control via API parameters |
| Maintenance | Low | High (updates, security) | None |
| Best For | Quick demos, user-driven recordings | Automated, high-volume video generation | Product integrations, zero-maintenance setups |
Each method has its place. Your choice really depends on how much control you need versus how much infrastructure you're willing to manage. For most projects that require reliable, scalable video creation, an API is the path of least resistance.
Fine-Tuning Your Capture: Navigating Pitfalls and Optimizing for Performance
Getting a basic script to make a video of a website scrolling is one thing; getting it to work reliably on real-world websites is a whole different ballgame. The modern web is a dynamic, unpredictable place, and if you’re not prepared, you’ll end up with videos full of broken images, choppy playback, and half-loaded content.
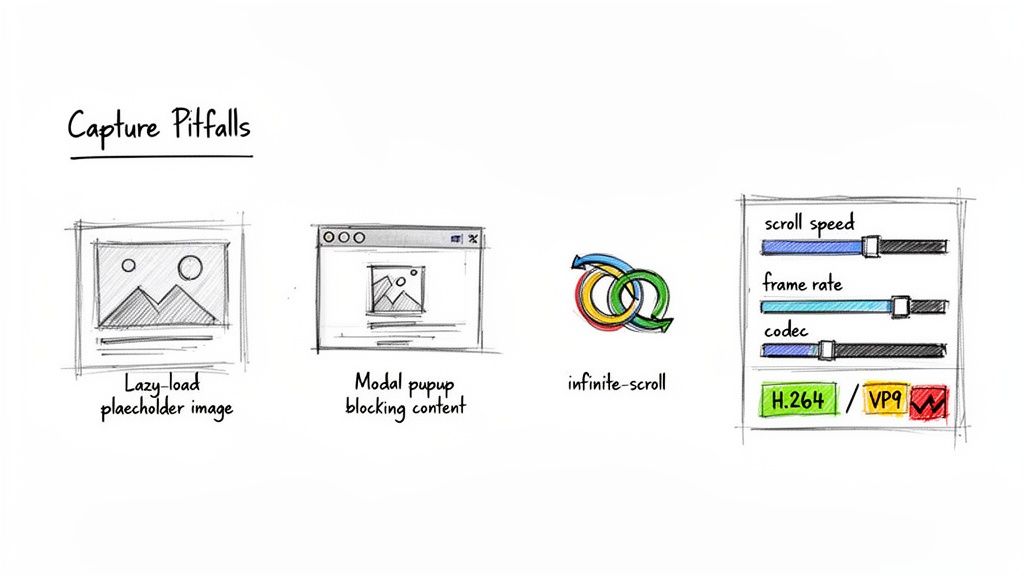
One of the first hurdles you'll almost certainly encounter is lazy-loaded content. Many sites won't load an image or a block of text until you actually scroll it into view. If your script scrolls too fast, you'll capture a sea of blank spaces where content should be. It’s a classic mistake.
Taming Dynamic Web Content
Infinite scroll is another beast entirely. Your script needs a clear endpoint, but these pages just keep adding more content as you go. Left unchecked, your recording process could run forever, bogging down your server and creating a gigantic, unusable video file.
The key to handling these issues is to build smarter logic into your capture process. Think "scroll, wait, capture," not just a continuous scroll.
- Wait for network stability: In Puppeteer, I always use commands like
networkidle0to let the page finish its initial flurry of network requests before I do anything. - Use a scroll-and-wait loop: Instead of one long, smooth scroll, program your script to scroll a bit, pause for a moment to let assets load, capture the frame, and then repeat.
- Look for an exit signal: Don't just scroll forever. Code your script to look for a specific element—like the page footer or a "no more posts" message—to know when to stop.
The real art is syncing your scroll speed with your frame rate. If they're out of sync, the motion will feel jerky and unprofessional. You're aiming for that sweet spot where the scroll distance per frame looks completely natural to the human eye.
And then there are the pop-ups. Cookie banners, newsletter sign-ups, and chat widgets love to appear at the worst possible moment, right in the middle of your recording. While a good API often handles these for you, a DIY Puppeteer setup needs to be told what to do. You'll have to write selectors to find and click these elements away before you start capturing. Understanding these common website screenshot challenges is essential for building a bulletproof system.
Optimizing Your Video for the Web
Once you have your raw frames, the job isn't done. The final video file needs to be optimized for web delivery. Choosing the right codec is your first big decision. H.264 is the old reliable with near-universal compatibility, but VP9 often gives you better performance and smaller file sizes for the web.
Next, you'll need to dial in the bitrate. This setting is a direct trade-off between file size and quality. A lower bitrate is great for fast loading times but can introduce fuzzy compression artifacts if you push it too far.
Don't skip these final steps. A beautifully captured video is worthless if it's too big to load quickly. Industry benchmarks suggest that video completion rates of 70% or higher are a sign of good performance—a goal that's hard to hit if your audience gives up waiting for a choppy video to buffer. By anticipating these issues from the start, you can produce a final product that's smooth, professional, and ready for your audience.
Frequently Asked Questions
When you first start creating scrolling videos of websites, you'll inevitably run into a few common hurdles. I've seen these trip people up time and again, so let's get you the answers you need to sidestep them.
Getting these details right is what makes the difference between a jerky, broken recording and a smooth, professional-looking video.
Can I Record Audio Along with the Scrolling Video?
Yes, you absolutely can—but how you do it depends entirely on the method you're using.
If you go the client-side route with the JavaScript MediaRecorder API, you're in luck. It can grab system audio or a microphone feed straight from the user's browser, assuming they give permission. This is perfect for creating narrated tutorials or capturing a web app's sound effects.
On the other hand, server-side tools like Puppeteer are purely visual. They have no concept of audio. If you need a voiceover for a Puppeteer video, you’ll have to record it separately and then use a tool like FFmpeg to stitch the audio and video tracks together in post-production.
How Do I Deal with Cookie Banners and Pop-Up Ads?
This is the big one. Nothing ruins a clean recording faster than a giant cookie banner or an unexpected ad popping up mid-scroll.
Here’s a quick rundown of how each method handles these interruptions:
- Puppeteer: You have to code for it. This means writing scripts to find and click "accept" buttons or loading the browser with an ad-blocking extension. The catch? It’s a constant maintenance game. Websites change their layouts, and your scripts will break.
- MediaRecorder API: This is a manual process. Since you're recording what a user sees, that user has to physically click away any pop-ups before hitting record. It’s simple, but it relies on a person to do it right every time.
- API-First Solutions: A specialized service like ScreenshotEngine usually solves this out of the box. These tools are built to automatically block most ads, cookie notices, and other overlays to give you a clean capture from the get-go.
If you're doing this at any kind of scale, an automated solution that handles these interruptions programmatically is the way to go. Manually clearing pop-ups just isn't a sustainable workflow.
What's the Best Video Format and Resolution to Use for the Web?
For broad compatibility across the web, you really can't go wrong with MP4 using the H.264 codec. It's the gold standard and plays reliably on virtually every modern browser and mobile device.
When it comes to resolution, 1080p (1920x1080) is the sweet spot. It delivers crisp, high-quality visuals without creating a massive file that takes forever to load.
The one exception? If you need a transparent background for layering effects, your best bet is WebM with the VP9 codec. Just remember to always dial in your bitrate and compression settings to ensure a smooth, buffer-free experience for your viewers.
Ready to create clean, reliable website captures without managing servers? With ScreenshotEngine, you can generate perfect screenshots and build scrolling videos with a simple API call. Try our free plan today!