When you need screenshots that look sharp and professional on any device, especially on modern Retina displays, you can't just hit "print screen." Getting that crisp, high-resolution quality means digging a little deeper into the technical side of things, specifically Device-Pixel-Ratio (DPR) and viewport dimensions. Nail these, and you'll avoid the dreaded blurriness for good.
Getting the Fundamentals Right for High-Res Screenshots
In any serious development workflow, high-quality screenshots are non-negotiable. Whether you're creating marketing assets, generating social media previews, or running pixel-perfect visual tests, a blurry image just won’t cut it. To move beyond basic screen captures, you have to understand what actually makes an image sharp.
The two concepts that matter most are viewport dimensions and Device-Pixel-Ratio (DPR). The viewport is simply the visible part of a webpage, measured in CSS pixels. DPR, however, is the real game-changer—it’s the ratio of physical pixels on a screen to the logical CSS pixels a developer works with.
How Device-Pixel-Ratio and Viewport Work Together
On a standard monitor, the DPR is 1, so one CSS pixel lines up perfectly with one physical pixel. But high-resolution screens, like Apple’s Retina displays, pack more pixels into the same space, giving them a DPR of 2 or even 3. On these screens, a single CSS pixel is actually rendered by a 2x2 or 3x3 grid of physical pixels. That's what makes text and images look so incredibly sharp.
Here's where things often go wrong. If you ignore DPR when taking a screenshot, you end up with a blurry, pixelated mess. Capturing a 1280x720 viewport on a screen with a DPR of 2 requires an actual image resolution of 2560x1440 to look right. This is the secret to creating high-res screenshots that stay crisp everywhere.
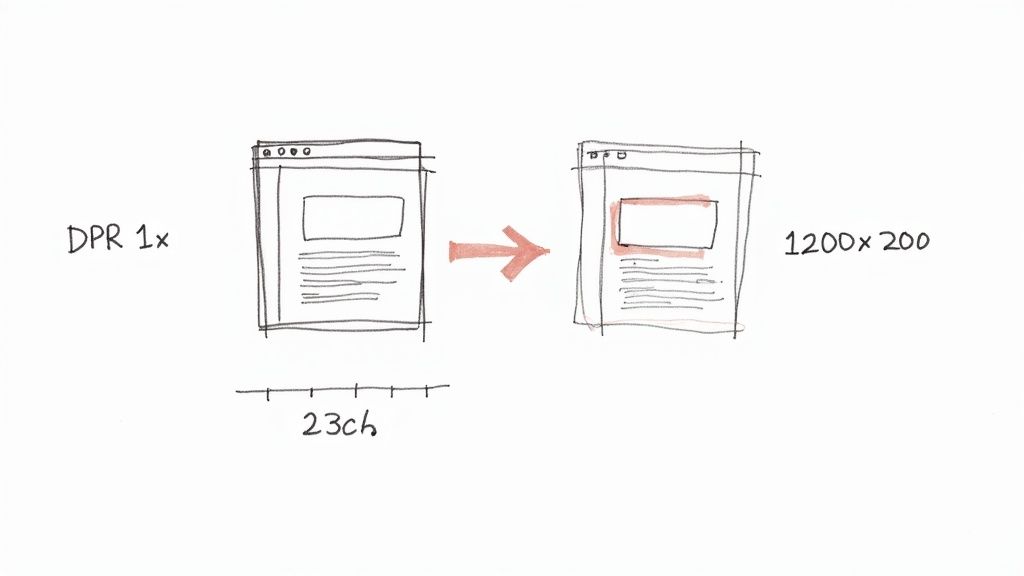
By specifying a DPR of 2, you are instructing the rendering engine to generate an image with four times the pixel data of a standard screenshot. This density is what eliminates pixelation and fuzziness on high-definition screens.
The push for higher resolutions isn't slowing down. The 5K display market, valued at $14.31 billion in 2023, is expected to soar to $56.41 billion by 2033, with screens boasting a native 5120x2880 resolution. For designers and developers, this trend has made high-res screenshots a necessity, reportedly reducing complaints about pixelation by as much as 80%. You can learn more about the growth of ultra-high-definition display technologies and see why this matters more than ever.
Getting a handle on these concepts transforms your screenshots from a simple screen grab into a reliable, high-fidelity asset that’s ready for anything.
Picking the Right Image Format and Capture Type
Okay, so you've nailed down the resolution with the perfect DPR and viewport settings. The next big decision is the image format. This is where you'll constantly balance getting a razor-sharp image against keeping the file size small enough to not slow everything down.
Honestly, there’s no single “best” format. The right choice completely depends on what you're actually taking a screenshot of. It’s like picking a tool from your toolbox—you don't use a sledgehammer for a finishing nail.
PNG vs. JPEG vs. WebP: The Trade-Offs
When it comes to web images, you’re usually deciding between PNG, JPEG, and WebP. Each one shines in different situations.
PNG (Portable Network Graphics): This is your best friend for anything that needs to be pixel-perfect. PNG uses lossless compression, which means it doesn't throw away any visual information. That makes it the clear winner for screenshots of user interfaces, graphics with sharp lines, or anything with solid blocks of color. The killer feature? It supports transparency, which is a lifesaver when you need to layer images.
JPEG (Joint Photographic Experts Group): When you're dealing with photos or images full of complex gradients, JPEG is usually the right call. It uses lossy compression, a clever way of shedding data that our eyes aren't likely to miss. You get much smaller files, but the trade-off can be some blurriness or artifacting around sharp edges. That’s why it’s a terrible choice for UI elements or text.
WebP: This is the new kid on the block from Google, and it's a fantastic hybrid. WebP can do both lossless and lossy compression, often beating both PNG and JPEG on file size at the same quality level. Plus, it handles transparency. It's an incredibly versatile format that's great for performance.
My rule of thumb is pretty straightforward: if the screenshot has text, UI components, or sharp lines, I always default to PNG. If it's a photograph or a complex hero image, I'll go with a high-quality JPEG or WebP to get the best balance of clarity and file size.
Here's a quick breakdown to help you decide on the fly:
PNG vs JPEG vs WebP: Which Format to Choose
| Feature | PNG | JPEG | WebP |
|---|---|---|---|
| Best For | UI, logos, text, sharp lines | Photographs, complex images | Everything (versatile) |
| Compression | Lossless | Lossy | Lossless & Lossy |
| Transparency | Yes | No | Yes |
| File Size | Larger | Smaller | Smallest |
| Quality | Highest (pixel-perfect) | Good (can have artifacts) | Excellent |
Ultimately, choosing the right format comes down to what you're capturing. Don't be afraid to experiment to find the sweet spot for your project.
For developers automating this, most screenshot APIs let you set the format with a simple parameter. You can see how this works and check out all the other options in the ScreenshotEngine API documentation.
Full-Page, Element, or Just the Viewport?
Beyond the format, you also need to decide what part of the page to capture. You don't always need a picture of the entire screen. Modern tools give you incredible control to zero in on exactly what you need.
Viewport Capture: This is the classic screenshot, grabbing everything a user can see in their browser window without scrolling. It's perfect for showing that initial, above-the-fold view of a page.
Full-Page Capture: Need the whole shebang, from the header all the way down to the footer? A full-page (or "scrolling") screenshot is what you're after. This is invaluable for archiving entire websites, conducting design reviews, or saving long articles in a single image.
Element Capture: This is where things get really precise. By targeting a specific CSS selector—like
#main-chartor.product-card—you can isolate and screenshot just that one piece of the page. This is incredibly powerful for things like generating images of charts for reports, grabbing user avatars, or creating clean product images without any of the surrounding page clutter.
Automating High Res Screenshots with an API
Taking screenshots manually is fine once in a while, but it just doesn't scale. When you need to generate images on the fly for social media previews, run visual regression tests in a CI/CD pipeline, or archive website states for compliance, you need a better system. This is where a dedicated screenshot API comes in, turning what was a tedious manual process into a simple, automated one.
Instead of battling with headless browsers and managing your own infrastructure, you just send an API request. In return, you get a perfect, high res screenshot. It's a massive time-saver that lets you focus on your actual product.
And it’s not just a niche tool anymore. The market for website screenshot software is set to explode from $250 million in 2023 to an estimated $550 million by 2032. This growth is fueled by real results—e-commerce sites have seen conversion lifts of up to 35% with better site previews, and marketers report capturing 12% more leads by using screenshots in their A/B tests. You can dig into more of this data on the growth of website screenshot tools and their market impact.
Constructing the Perfect API Request
The real magic of a screenshot API is in the parameters. With just a few options, you get precise control over the final image. Most services, including ScreenshotEngine, use a straightforward REST API where you simply add parameters to the request URL.
Here are the key parameters you'll find yourself using all the time:
url: The website you want to capture. This is the only one that's absolutely required.width&height: This sets the viewport size in CSS pixels. For a typical desktop view, you might usewidth=1920andheight=1080.dpr: The Device-Pixel-Ratio. This is your ticket to high-resolution images. Adprof 2 or 3 is perfect for crisp shots that look great on Retina displays.format: The image output type. Your main choices will bepng,jpeg, andwebp.
Deciding which format to use can be tricky, but this chart breaks it down based on what you’re capturing.
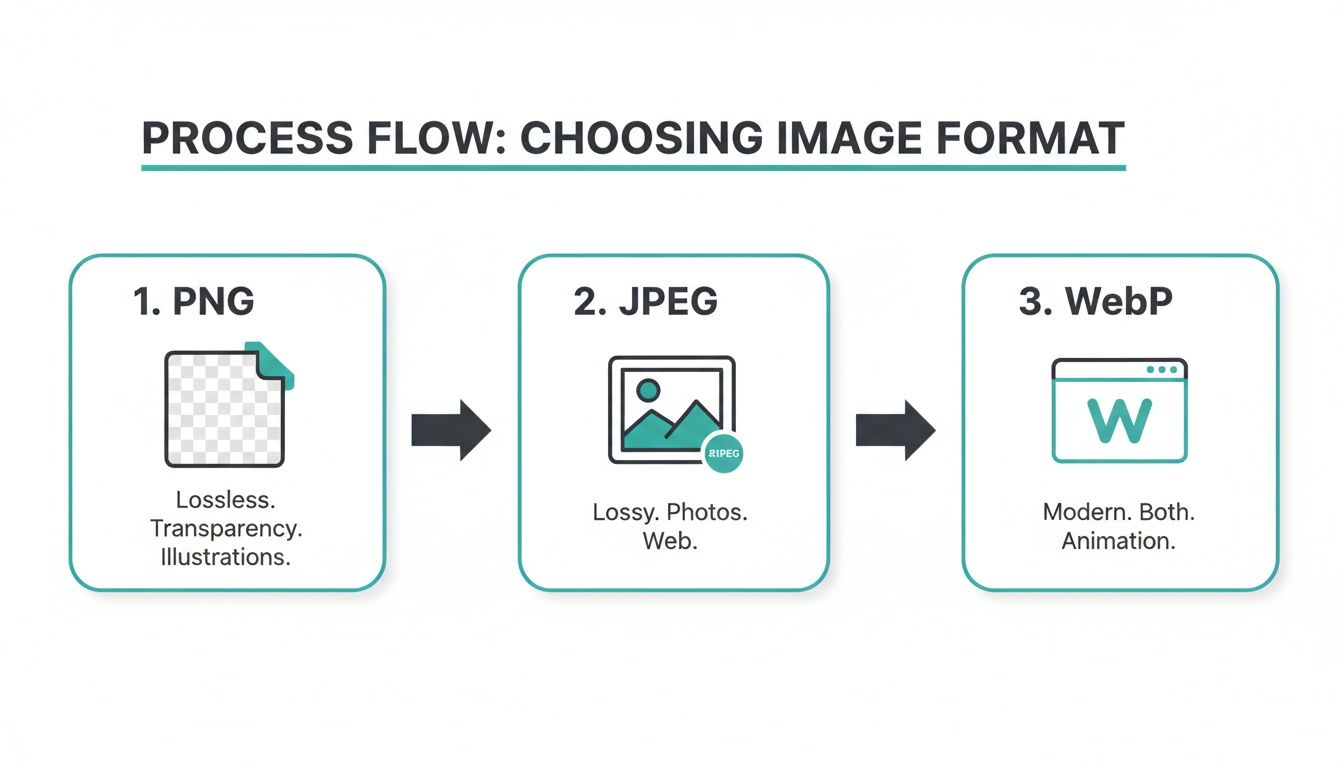
The takeaway is pretty clear: stick with PNG for sharp UIs and text, use JPEG for photographic content, and go with WebP when you need a great balance of quality and file size.
Putting It All Together in Code
Let's make this practical. Say you need to generate a 1200x630 preview image of a product page for a social media card. To ensure the text and logos are sharp, you'll want a high-resolution PNG.
Here’s how you could pull this off in a simple Node.js script using axios:
const axios = require('axios'); const fs = require('fs'); const apiKey = 'YOUR_API_KEY';
async function captureScreenshot() { const url = 'https://www.screenshotengine.com'; const params = { url: url, width: 1200, height: 630, dpr: 2, format: 'png' };
try {
const response = await axios.get('https://api.screenshotengine.com/v1/screenshot', {
params: params,
headers: { 'Authorization': Bearer ${apiKey} },
responseType: 'stream'
});
response.data.pipe(fs.createWriteStream('product-preview.png'));
console.log('High res screenshot saved!');
} catch (error) { console.error('Error capturing screenshot:', error); } }
captureScreenshot();
This script builds the API call with our exact specifications and streams the image directly into a file named
product-preview.png. It’s a clean and efficient way to plug high-quality captures into any app or workflow.
By automating high res screenshots with an API, you replace an error-prone manual task with a reliable, scalable system. This opens up some powerful possibilities for automated testing, dynamic content generation, and website monitoring. To see everything that's possible, check out our deep dive into how a screenshot API can streamline your development process.
Advanced Techniques for Perfecting Your Captures
Alright, now that you've got the basics down—things like dimensions and formats—let's get into the good stuff. These are the techniques that give you total control over the final image, letting you tweak the live webpage right before the "shutter" clicks. This is how you go from getting a decent screenshot to one that’s consistently clean, professional, and perfect every single time.
Let's be real: one of the biggest headaches in automated screen capture is dealing with all the junk that gets in the way. I'm talking about those pesky cookie banners, live chat pop-ups, and promotional modals that always seem to cover up exactly what you're trying to capture.
Injecting Custom CSS for a Cleaner Look
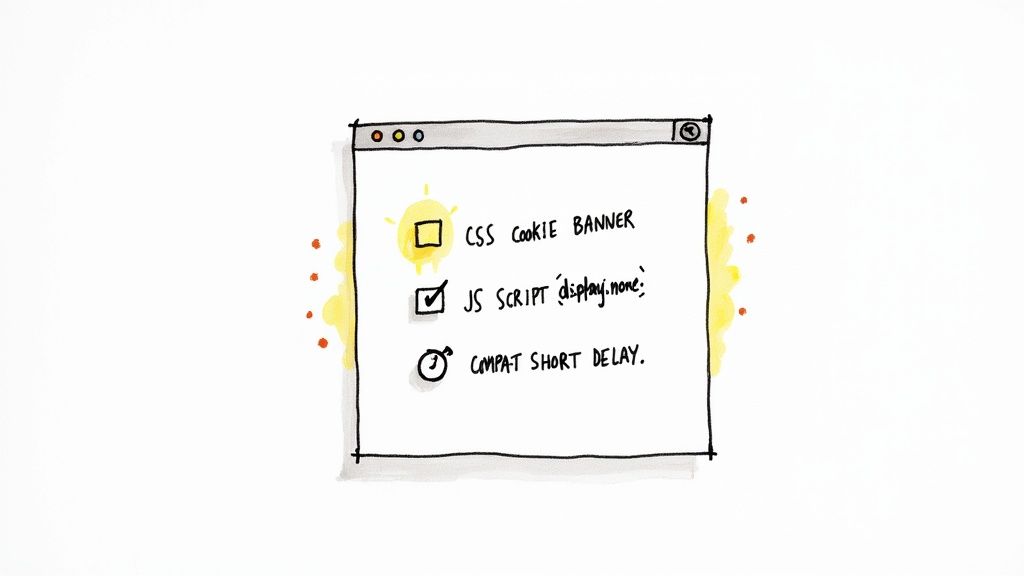
Instead of trying to crop those annoying elements out later, you can just hide them before the screenshot is even taken. This is where injecting custom CSS comes in. Most screenshot APIs, including ScreenshotEngine, let you pass in a css parameter to apply your own styles to the page before it renders.
For example, say you want to get rid of a cookie consent banner with the class .cookie-banner. You just need to inject this simple rule:
.cookie-banner { display: none !important; }
That one little command tells the browser to act like the banner doesn't even exist, removing it from the layout entirely. The result? A perfectly clean capture with zero manual editing required. This is an absolute game-changer for automating screenshots of public websites.
Executing JavaScript for Dynamic Content
But what happens when the content you need isn't even visible when the page first loads? So many modern web apps require you to click a button to open a menu, or hover over something to see a tooltip. You can't capture what you can't see, which is where running custom JavaScript becomes your secret weapon.
By executing a script right before the capture, you can simulate all sorts of user interactions.
- Need to click a button? Easy:
document.querySelector('#open-menu-btn').click(); - Want to scroll down to a specific chart? No problem:
document.querySelector('#data-visualization').scrollIntoView();
This kind of control is crucial when you need to capture a specific state of a dynamic application. It ensures your high res screenshots show the exact UI you're trying to test or document, turning a simple capture tool into a powerful automation engine.
Pro Tip: Whenever you're scripting an interaction like a click or a scroll, always pair it with a short delay. This gives the page a beat to run its animations or load any new content triggered by your script. It's the best way to prevent captures that look incomplete or broken.
Handling Lazy-Loaded Images and Content
One of the most common issues you'll run into, especially with full-page captures, is missing images. This is almost always caused by lazy loading, a common web performance trick where images only load when you scroll them into view. If your capture tool scrolls and snaps too fast, it outpaces the image loading, leaving you with ugly blank spots.
The fix is usually a smart delay. Setting a delay parameter for a few seconds (like delay=3000 for 3 seconds) gives the browser enough time to fetch and render everything, including those lazy-loaded assets. For a more robust solution, check the docs for your website screenshot API; some offer advanced features that wait for all network activity to stop before taking the shot.
The demand for these kinds of powerful screenshot tools is exploding. The screen capture software market was valued at $9.58 billion in 2024 and is on track to hit $18.25 billion by 2029, largely driven by the needs of remote work and online learning. With enterprise adoption rates already over 60% in North America, the importance of high-quality, automated visual communication is clearer than ever. You can dive into the full screen capture software market report to see just how fast this space is growing.
Troubleshooting Common Screenshot Generation Issues
Even with a solid setup, you'll eventually run into a capture that just doesn't look right. It happens. When your automated screenshots go sideways, the problem usually boils down to a handful of common culprits related to timing, rendering, and access. Knowing what to look for makes the fix a lot faster.
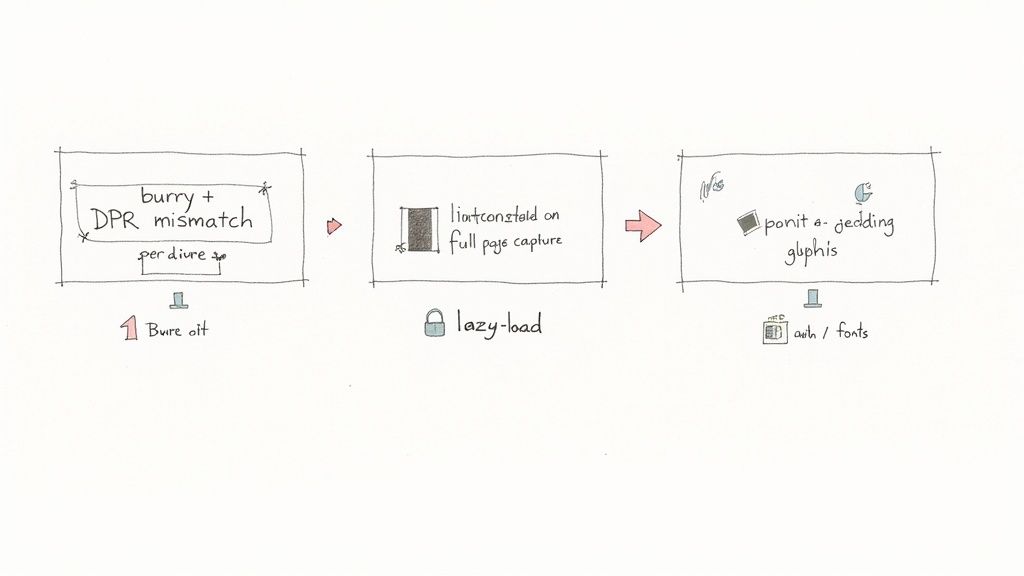
One of the most frequent issues I see is blurry text or fuzzy UI elements. Nine times out of ten, this is a classic mismatch between your capture dimensions and the device-pixel-ratio. If you request a 1280px wide viewport with a DPR of 1, that screenshot is going to look pixelated on any modern high-resolution screen.
The fix is usually dead simple: always generate your high res screenshots with a
dprof at least 2. This one tweak gives the final image enough pixel density to stay crisp and sharp on everything from a MacBook Pro to a 4K monitor.
Fixing Incomplete Page Captures
Another headache is the dreaded incomplete screenshot. You ask for a full-page capture, but the output is missing images, whole sections of content, or the footer. This is a tell-tale sign that your capture process is firing before the page has finished loading its content—a common problem with sites that use lazy-loading scripts to improve performance.
The trick is to give the page time to breathe. The easiest solution is to introduce a delay in your API call, which tells the renderer to wait a few seconds before taking the shot. That little pause is often all that's needed for JavaScript content and lazy-loaded images to pop into view.
For more complex, dynamic sites, you might need a more targeted approach:
- Wait for a specific element: Some APIs, like ScreenshotEngine, let you specify a CSS selector (e.g.,
#footeror.pricing-table) and will hold off on the capture until that element is visible. - Wait for network idle: A more robust option is to tell the service to wait until the network goes quiet. This is a great way to confirm that all scripts, images, and assets have been fully downloaded before the screenshot is taken.
Handling Web Fonts and Authentication
Ever get a screenshot back where all the beautiful typography has been replaced with a generic system font? This happens when the capture is triggered before the site's custom web fonts have finished downloading. Just like with lazy-loaded images, a well-placed delay is usually the answer.
Protected content, on the other hand, is a different kind of challenge. For pages that are behind a login, you can typically pass along session cookies or authorization headers in your API request. This lets the rendering engine access the page just like an authenticated user would. For sites with more aggressive bot detection, you’ll likely need a service that can route requests through residential proxies or use advanced browser fingerprinting to appear as a genuine visitor.
Got Questions? We've Got Answers
Even with the best guides, you'll eventually run into a few tricky situations. Here are some of the most common questions I hear from developers trying to nail down their high-resolution screenshot process.
How Can I Make Sure My Screenshots Look Crisp on Every Screen?
The real secret here is mastering the device-pixel-ratio, or DPR. You might know it as retina scaling. If you want guaranteed sharpness, you absolutely have to capture your screenshot with a dpr of at least 2.
Think of it this way: you're telling the browser to render the page at double its normal pixel density. When that super-detailed image gets displayed, it scales down beautifully, looking incredibly sharp on both standard and high-DPI screens like a new MacBook or a 4K monitor. Most good screenshot APIs will have a simple parameter you can set for this.
What's the Best Way to Screenshot Just One Part of a Page?
Don't capture the whole page and then try to crop it yourself—that's a recipe for frustration and imprecise results. Instead, look for an API feature that lets you target an element using its CSS selector.
You can point it directly at something like #main-chart or .user-profile-card. The API will still render the entire page behind the scenes, but it will intelligently crop the final image to the exact dimensions of that element. It's clean, efficient, and gives you a perfectly framed shot every time.
I find this element-specific method incredibly useful for creating dynamic images for social media previews (Open Graph images), pulling out charts for automated reports, or just grabbing UI components for documentation. It automates a tedious manual process.
Why Are My Full-Page Screenshots Missing Images?
This is almost always a lazy-loading issue. Content that's set to lazy load only appears once it scrolls into the viewport. A lightning-fast screenshot tool can easily scroll and snap the picture before those images have even had a chance to load, leaving you with ugly blank spots.
Luckily, there are a couple of solid ways to fix this:
- Add a strategic delay. The simplest fix is to use an API parameter like
delayto tell the tool to wait a few seconds before capturing. This gives all those deferred assets enough time to fully load. - Use a "wait for network" feature. A more robust solution, offered by more advanced APIs, is a feature that actively monitors network traffic. It won't take the screenshot until it detects that all network activity has stopped, ensuring everything is rendered.
Ready to stop wrestling with these details and just get perfect screenshots? ScreenshotEngine handles all this for you, so you can generate pixel-perfect images at scale without the headache. Start capturing for free today.